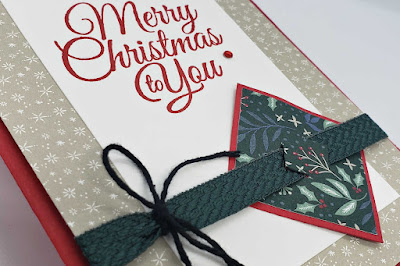
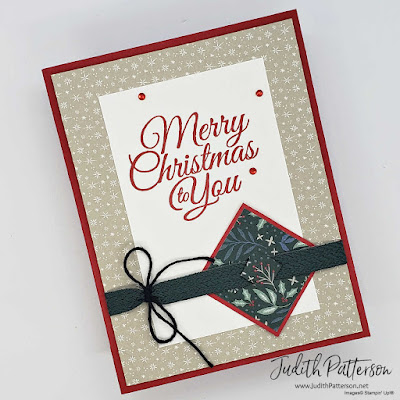
Hello and WELCOME! For today's card I decided to use Stampin' Up!'s Holly Jolly Wishes stamp set and Tidings of Christmas Designer Series Paper. This one was inspired by Sketch Saturday's Sketch Challenge #681. Want to play along?
MEASUREMENTS
Card Base ~ Real Red Cardstock ~ 8-1/2" x 5-1/2", score at 4-1/4"
Layer 1 ~ Tidings of Christmas Designer Series Paper ~ 4" x 5-1/4"
Layer 2 ~ Basic White Cardstock ~ 2-3/4" x 4-1/2"
Layer 3 ~ Real Red Cardstock ~ 1-5/8" square
Layer 4 ~ Tidings of Christmas DSP ~ 1-1/2" square
- Stamp the sentiment on Layer 2
- Follow the directions in the picture below to cut the slots for the ribbon to slide through. Before making the actual cuts, adhere Layer 4 to Layer 3. (I used a craft knife and thick mat to cut the slots)
- Adhere Layer 2 to Layer 1.
- Slide the ribbon through the slots you made on the square DSP. Use Glue Dots to attach the ends behind Layer 1.
- Use Black Twine to tie a bow around the ribbon. (Don't tie it too tight, it will bunch up the ribbon)
- Attach Layer 1 to the Card Base with Stampin' Dimensionals.
- OPTIONAL~ use the Take Your Pick Tool to add a Glue Dot behind the square layer, for stability (not required)
- Add a few Red Rhinestone Basic Jewels to the card front.
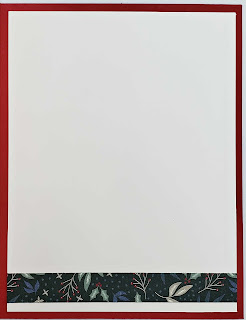
Add a 1/2" x 4" strip of DSP across the bottom of a 4" x 5-1/4" piece of Basic White. Then, adhere the Basic White inside the card.
Happy stamping!
PRODUCT LIST
(Please use the current Host Code, found in the top right corner of my blog, on orders under $150)


No comments:
Post a Comment